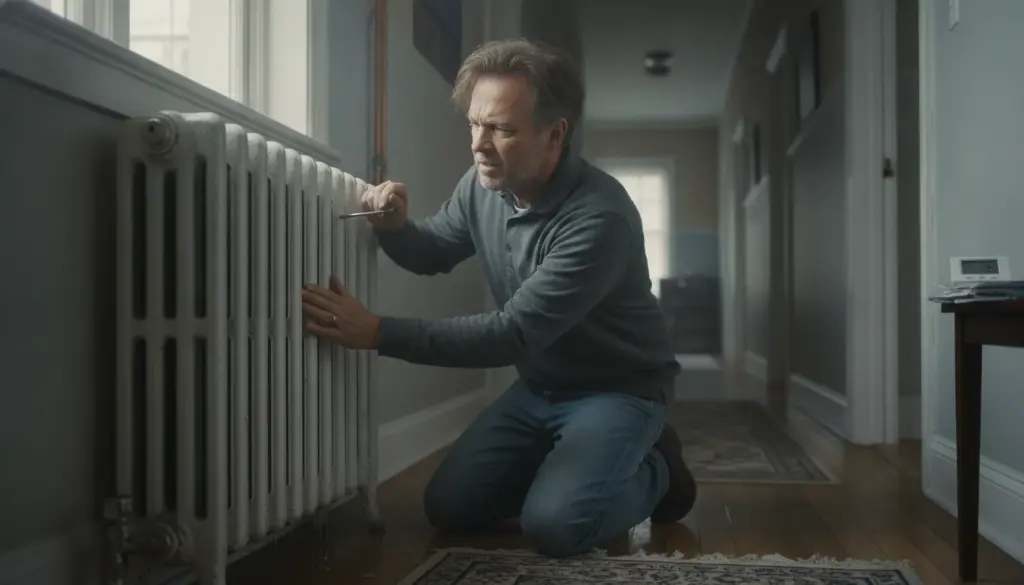
You place a hand on the metal, twist the knob slightly, and maybe even give it a gentle tap. Nothing happens. Meanwhile, a distinct gurgling noise echoes through your hallway pipes, sounding as if a small fish tank is trapped inside your home’s heating network. You realize it is time to bleed the system. Grabbing the radiator key, you wander from room to room, opening valves purely on instinct. A little hiss of air escapes, a few drops spill out, and you call it a day. However, your living room remains uncomfortably lukewarm, the boiler runs overtime, and energy costs continue to climb. You are overlooking a surprisingly basic mechanical principle.
Why Bleeding Your Heating System ‘By Feel’ Fails
Tackling maintenance randomly usually results in the exact same disappointing outcome. The bottom of your heating unit feels scorching hot, while the top stays icy cold, leaving your indoor climate drafty and unsettled. Hearing that satisfying hiss and spotting a water droplet might make you think the job is done, but your home’s pipework is far less intuitive than it appears. Trapped oxygen shifts around, getting stuck in awkward pipe bends and tricking your senses when you only check for lukewarm spots. Ultimately, you waste time, end up with damp hands, and gain zero thermal comfort.
Industry data from heating technicians reveals that over 60% of “faulty heating” complaints actually stem from trapped air or utilizing the completely wrong bleeding sequence. Most homeowners only bleed the two radiators they use most, entirely ignoring the rest of the house. Alternatively, they start on the ground floor while the boiler sits up in the attic, effectively forcing air bubbles in the opposite direction. While it feels like you are doing essential maintenance, you are essentially just playing a game of thermal roulette.
Think of your central heating as a closed circulatory system. The precise location and order in which you release trapped oxygen heavily dictates how efficiently hot water will flow afterward. Air naturally rises to the highest elevations and accumulates in plumbing blind spots. Tackling valves randomly often creates fresh air pockets rather than eliminating them. Consequently, your boiler strains harder, circulation slows down, and gas consumption spikes while indoor warmth plummets. Releasing air requires a logical, methodical strategy, starting with a specific route.
The Quick Sequence That Actually Delivers Results
Always initiate the process at the highest physical radiator in your property, systematically working your way downward. If your boiler is located in the attic or on the roof, begin with the unit installed closest to it. Conversely, if your primary heating source is tucked away in a ground-floor utility closet, the top floor should be your very first destination. This structured approach provides trapped oxygen with a clear escape route, preventing it from getting indefinitely lost inside your home’s plumbing maze.
Gently loosen each valve, catch the escaping moisture, and hold off until a perfectly steady stream of water emerges. Only then should you move to the next room. Many individuals stop the task after fixing just one or two problematic units, which is a highly common pitfall. Naturally, you want immediate warmth without spending your entire afternoon holding a tiny brass key.
However, radiators are mounted at varying heights, feature different connection types, and never react simultaneously. Fixating solely on the malfunctioning unit frequently triggers new circulation issues throughout the rest of the property. The smartest professional approach is progressing room by room, moving strictly from top to bottom, and routinely monitoring your boiler’s internal water pressure.
Common Mistakes and the Routine That Lasts Years
Treat this maintenance as a structured ritual rather than a frantic troubleshooting effort. First, completely turn off your heating or lower the thermostat so the circulation pump completely stops running. Next, tackle the highest valve, moving down one floor at a time. Once every unit is complete, inspect the boiler’s pressure gauge.
If the needle drops below 1 bar, you must refill the network, aiming for an optimal range between 1.5 and 2 bar depending on your manufacturer’s manual. Without restoring the correct operating pressure, even the most thorough bleeding session is completely useless. You can secure the fastest results by establishing this simple seasonal habit. Pick a quiet afternoon, ideally right before the winter freeze sets in, and walk through your home in one continuous sweep.
One frequent blunder is attempting to bleed valves while the boiler is actively firing. This forces both water and oxygen rapidly through the network, making it impossible for the system to settle. Another classic error involves twisting the valve shut the exact second moisture appears, ignoring the microscopic bubbles still sputtering out. Allow it to flow freely for at least ten seconds.
Yes, a few drops will inevitably splash onto your floor or into your collection cup. Let’s be honest: nobody performs this chore with surgical perfection every single week. Yet, executing it flawlessly once is far superior to doing it poorly ten times. “For years, I assumed bleeding was a desperate measure for when things completely broke down,” notes seasoned heating specialist Mark (42). “Now, I see firsthand how spending fifteen minutes following the correct top-to-bottom sequence literally shaves tens of euros off winter gas bills.”
Core Habits for Optimal Heating Efficiency
- Always progress from the highest elevated radiator down to the lowest floor.
- Ensure the system is turned off so the internal pump remains stationary during the process.
- Double-check the boiler pressure gauge afterward and replenish water levels if required.
- Perform this complete cycle at least annually, preferably right before autumn temperatures drop.
What Happens When You Finally Do It Right
Committing to the proper top-to-bottom method for an entire winter yields a benefit that is hard to quantify: absolute quiet. Your boiler stops its nervous, constant cycling. Those annoying clanking and gurgling noises inside the walls completely vanish. Indoor temperatures balance out beautifully, acting as if the separate rooms are finally communicating with one another. You might even find yourself dialing the main thermostat down half a degree simply because the ambient air feels genuinely cozier.
This isn’t magic; it is merely liquid flowing without unnatural resistance. While financial savings vary by household, the enhanced comfort is noticeable during every shower and cozy evening on the couch. Handling radiator maintenance purely on instinct is highly comparable to cooking a meal without ever tasting it: occasionally you get lucky, but usually, it falls flat.
Implementing a strict, logical path eliminates the guesswork, transforming a messy chore into a calming seasonal ritual. You become intimately familiar with your pipework, easily spotting real mechanical anomalies before they escalate during a freezing night. A property that functions flawlessly on a technical level simply feels much better, even if you cannot quite articulate why. Ultimately, true heating efficiency isn’t just about the machinery; it is about cultivating a genuinely comfortable living environment.
Frequently Asked Questions
How frequently should I bleed my home heating system?
You need to complete this task at least once annually, ideally right before winter begins. Extra sessions are highly recommended if you start noticing unusual gurgling noises or if the top sections of your units remain chilly.
Should the boiler be running or switched off during the process?
Always turn it completely off, or drop the thermostat significantly. This ensures the internal pump stops forcing water around, allowing trapped oxygen to naturally rise to the highest pipes.
Where exactly am I supposed to begin?
Initiate the process at the highest physical radiator inside your property, preferably the one closest to the main heating unit, and systematically work your way downward floor by floor.
What if only liquid comes out and no trapped air?
That specific unit is already perfectly clear. Simply close the valve and move directly to the next room, as oxygen bubbles might be hiding elsewhere in the network.
Why does my boiler pressure gauge drop afterward?
Because opening the tiny valves releases both trapped gas and a small volume of liquid. Consequently, you will frequently need to top up the central network to restore optimal operating pressure.