Turn Simple Pantry Trash Into a Pollinator Paradise
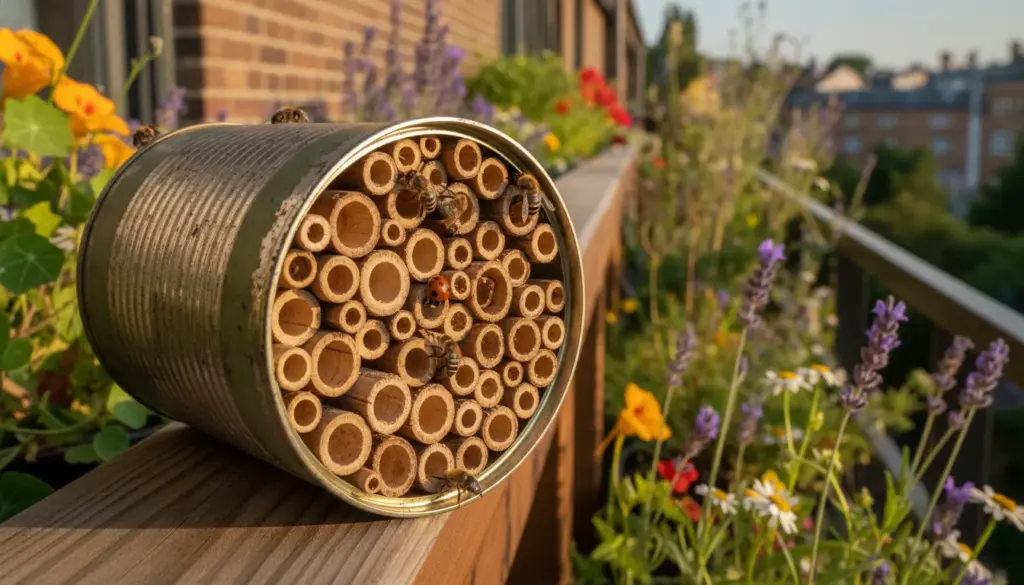
Skip the pricey, pre-made kits from the garden center. Creating the perfect insect sanctuary is incredibly straightforward, and you only need an empty food tin to get started. This compact DIY project is a fantastic addition to both sprawling backyards and small city balconies.
Have you ever considered where ladybugs, solitary bees, and other helpful bugs rest after a long day of flying from flower to flower? They rely on safe, snug shelters to survive and lay their eggs. Unfortunately, these natural hiding spots are rapidly disappearing due to overly manicured landscapes and tidy parks.
By upcycling a standard tin can, you can actively support local biodiversity. Crafting a custom habitat provides a crucial refuge for these beneficial insects right outside your window, helping nature thrive in your own neighborhood.
Essential Materials for Your Upcycled Insect Sanctuary
Before you begin assembling, gather a few basic supplies from around your home and garden.
- A thoroughly washed tin can (at least 10 centimeters deep)
- Basic craft pliers
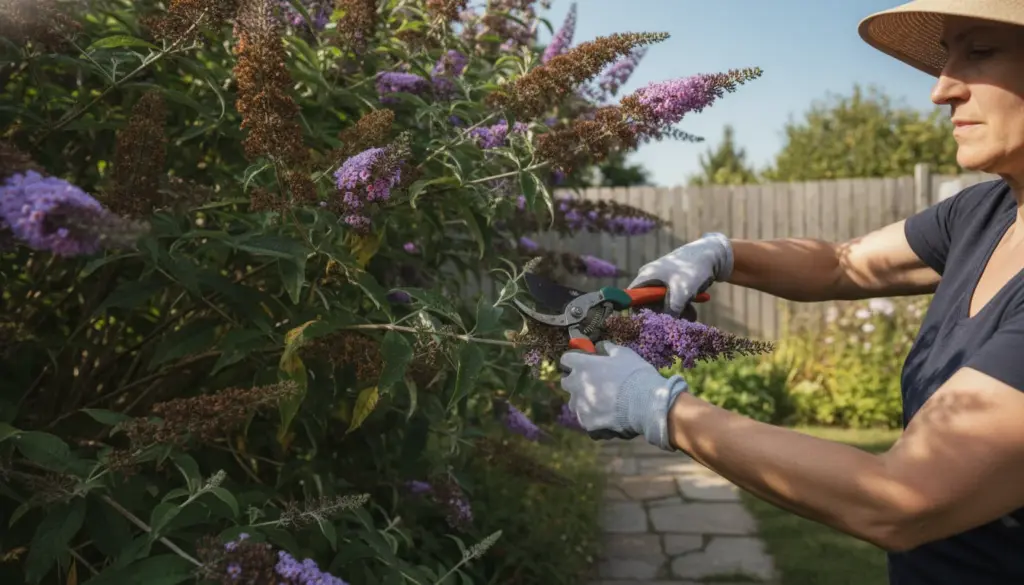
- Nesting materials: Reed or bamboo tubes, hollow plant stems (like raspberry, butterfly bush, or elderberry), or hardwood blocks drilled with 2 to 9-millimeter holes. Wood shavings work beautifully for attracting earwigs, lacewings, and ladybugs.
- Heavy-duty scissors or a compact hand saw
- Fine-grit sandpaper
- Sturdy wire or weather-resistant twine for hanging
4 Simple Steps to Craft Your DIY Bee Hotel
- Prepare the container: Rinse your tin out using only warm water. Lingering dish soap odors can easily repel geruchsempfindliche (smell-sensitive) wild bees. Carefully crimp the sharp inner rim down with pliers to prevent injuries. Next, puncture a few small ventilation holes in the base, though ensure your hollow tubes remain adequately shielded from drafts at the back. Feel free to decorate the exterior with natural, eco-friendly paint.
- Size the natural fillings: Trim your hollow stems and tubes to match the exact depth of your container. It is absolutely crucial to sand down the cut ends until they are perfectly smooth. Rough edges can easily shred delicate insect wings.
- Pack the nesting material: Wedge your trimmed stalks into the metal housing as tightly as possible. The tension should hold everything firmly in place, ensuring nothing slips out even if you turn the container completely upside down.
- Mount it securely: Tie your wire or twine tightly around the metal casing. Find a sunny, south-facing spot that remains sheltered from heavy rain and harsh winds. Suspend your new habitat with a slight downward tilt so rainwater can drain out, and make sure it is mounted firmly so it doesn’t swing wildly in the breeze.
Protecting Delicate Wings and Warding Off Predators
Hungry birds often view these concentrated habitats as an easy snack buffet. To keep your tiny guests safe, consider mounting a protective barrier in front of the can. A plastic mesh net—preferably blue, with a 3 by 3-centimeter grid—works exceptionally well for this purpose.
If you secure this netting roughly 20 centimeters away from the entrance, wild bees will navigate through the gaps effortlessly. Meanwhile, the distance keeps larger, opportunistic birds completely at bay.
Crucial Safety Tip for Wild Bees
The entrance holes of your wooden or bamboo tubes must be entirely free of splinters and sharp fibers. If the edges are jagged or frayed, the insects will simply abandon the habitat rather than risk damaging their fragile wings. Taking an extra minute to carefully sand these surfaces is absolutely non-negotiable for a successful build.
Which Insects Prefer Which Rooms?
Just like human travelers, different garden bugs have specific accommodation preferences. While a soft bed of wood shavings will primarily draw in ladybugs, lacewings, and earwigs, hollow plant stalks are the ultimate real estate for solitary bees and beneficial wasps. By mixing up the materials, you will attract a vibrant, diverse crowd of helpers.
Wild bees, in particular, are highly specific about the diameter of their nesting tunnels. Here is a quick guide to who moves in where based on hole size:
- 2.5 to 4 millimeters: Perfect for small wasp species, hole bees, scissor bees, and masked bees.
- 4 to 6 millimeters: Highly sought after by larger wasps, scissor bees, and both red and steel-blue mason bees.
- 6 to 10 millimeters: The ideal size for leafcutter bees, horned mason bees, red mason bees, and robust wasp varieties.
Finally, try to position your finished project near blooming native flowers or a fragrant herb patch. Offering immediate access to a rich food source guarantees your new neighbors will settle in quickly. You will soon be rewarded with an enchanting, up-close view of nature’s hardest workers.