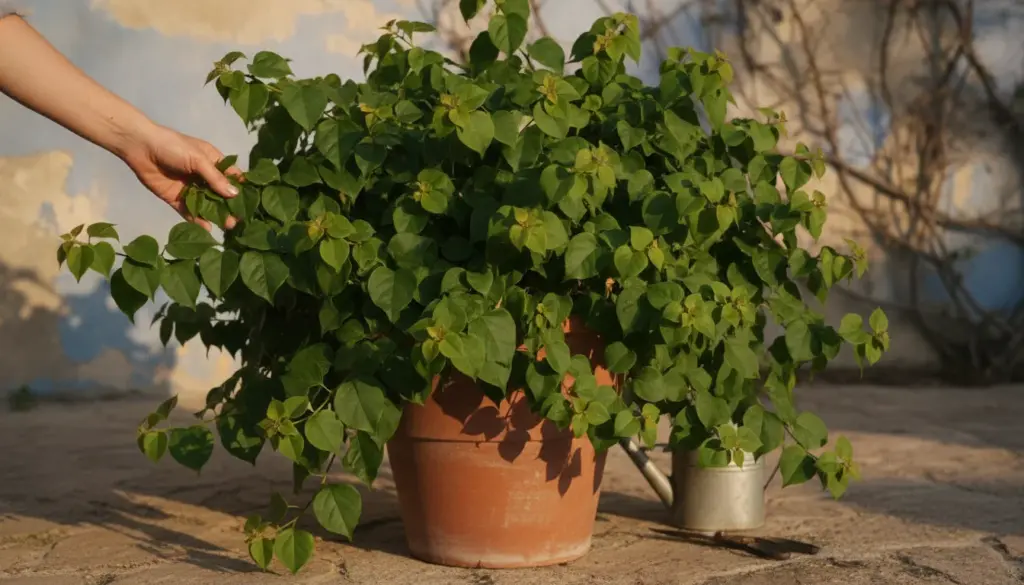
Why Your Plant Stays Perfectly Green but Refuses to Bloom
Seeing a lush, perfectly green shrub when you expected an explosion of vibrant color can be incredibly frustrating. Fortunately, this common dilemma rarely means your plant is fundamentally flawed. In most cases, a tiny, easily overlooked care mistake is preventing those famous bright bracts from forming. By making a few targeted adjustments, you can coax a seemingly stubborn plant into full bloom within a single season.
A healthy specimen without blossoms certainly looks great, featuring sturdy vines and glossy foliage with no signs of disease. Yet, it lacks the exact feature it is famous for: those spectacular, vividly colored bracts that surround the tiny, actual flowers.
The foundational environment dictates everything. These climbers are ultimate sun worshippers. To generate enough energy for a spectacular floral display, they require an absolute minimum of six hours of direct, blazing sunlight daily.
- Optimal growing temperatures: Between 20 and 30 °C during the active season.
- Cold threshold: Bring them indoors before temperatures dip below 5 °C.
- Frost damage: Most varieties suffer severe tissue damage around the freezing point.
- Ideal location: Positioned against a sheltered south or southwest-facing wall, protected from harsh winds.
Soil composition plays an equally massive role. In their natural habitat, these tropical beauties thrive in relatively arid regions that experience brief, heavy downpours rather than constant moisture. Their root systems demand oxygen, not a soggy sponge.
While heavy, waterlogged potting mixes might keep the top foliage looking lush, they completely eliminate the natural triggers required for bud formation. They truly excel in light, highly porous mixtures housed in containers with exceptional drainage. Leaving a saucer permanently filled with water is a guaranteed way to suffocate the root system, forcing the plant into survival mode rather than a blooming phase.
The Trap of Overwatering and Overfeeding
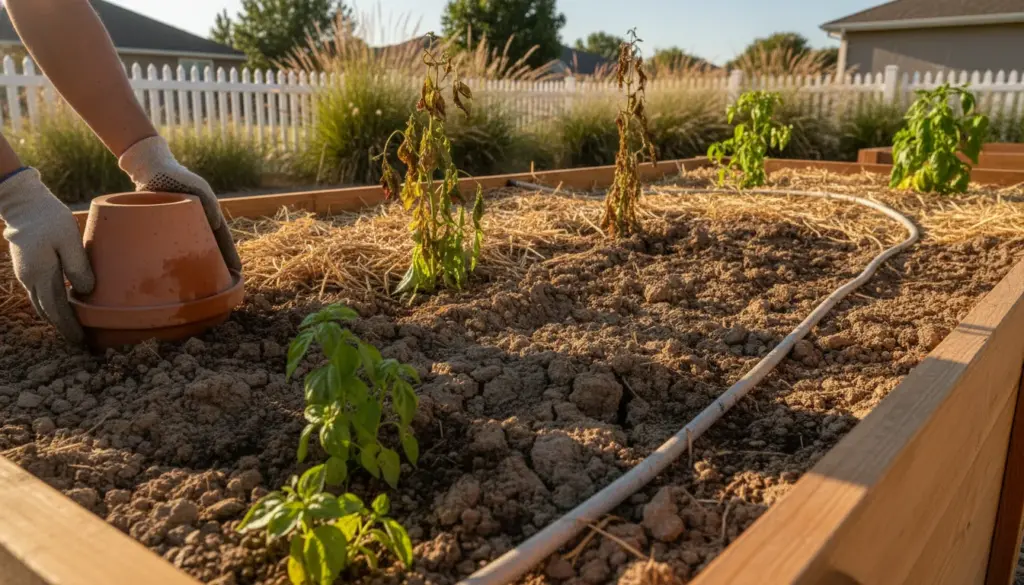
Picture a massive container sitting on a scorching summer patio. A well-meaning gardener waters it every other day and tops it off with a weekly dose of universal liquid fertilizer. It seems like a logical approach during a heatwave. However, the result is predictable: elongated shoots and magnificent foliage, but absolutely zero color. The anticipated vibrant cascade transforms into a giant green cloud.
This phenomenon boils down to the delicate balance of hydration and nutrients. When provided with an abundance of moisture and high-nitrogen feed, the specimen aggressively prioritizes vegetative leaf and stem expansion. All its energy goes into growing larger rather than reproducing.
The secret is simple: abundant resources equal foliage, while mild scarcity triggers blossoms. Allowing the root ball to dry out slightly between waterings introduces a minor, calculated stress factor. Just like in nature, this mild drought tells the plant it’s time to reproduce, redirecting energy into creating bright bracts to attract pollinators.
The Professional Technique of ‘Controlled Thirst’
Before attempting any advanced watering strategies, the basic environmental conditions must be perfect. Without adequate sunshine and proper soil texture, no expert trick will yield results.
Step 1: Perfecting the Environment and Nutrition
- Maximize sun exposure by choosing the warmest available wall.
- Blend standard potting soil with coarse sand or fine gravel to create a highly aerated, fast-draining substrate.
- Ensure the planter has large drainage holes and strictly avoid letting excess water stagnate underneath.
When it comes to nutrients, a targeted approach vastly outperforms random, heavy feeding. During the active growing months, switch to a fertilizer rich in potassium rather than nitrogen, as potassium directly fuels flower development. Always halt fertilizing around mid-September to prevent unnecessary late-season leaf growth.
Step 2: Adjusting the Watering Rhythm
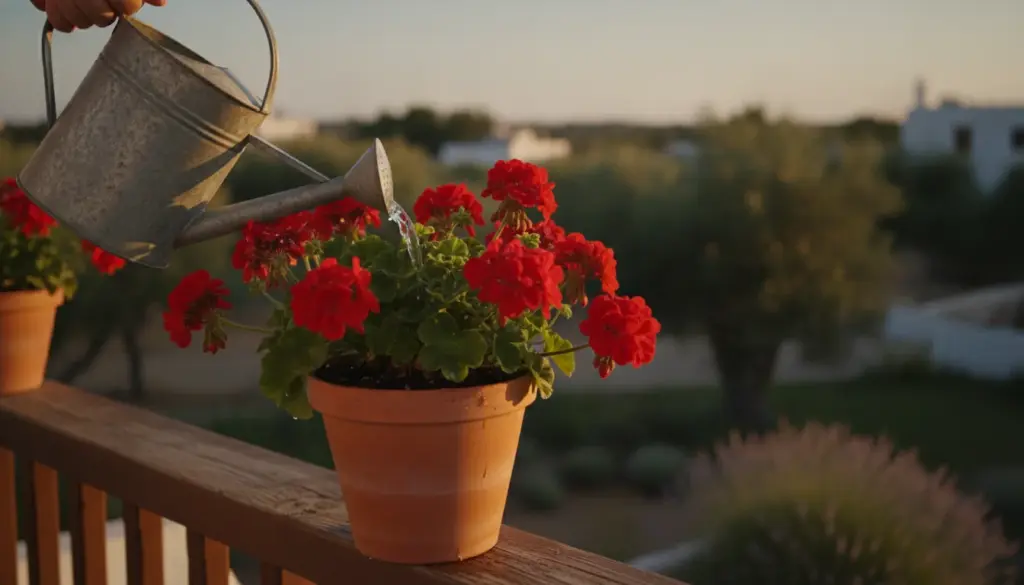
Throughout the summer, allow the upper layer of the potting mix to dry out completely. You should wait until the top three to four centimeters feel entirely devoid of moisture before reaching for the watering can.
Once it is time to hydrate, avoid giving just a tiny splash. Instead, drench the container thoroughly. Let the moisture cascade through the soil profile, and critically, discard any excess water remaining in the saucer after thirty minutes. This deep-soaking method prevents root rot while encouraging the roots to reach deeper.
Winter care requires a drastic shift. Relocate the container to a bright but chilly spot, such as an unheated sunroom or a cool, well-lit bedroom. Hydration must be strictly limited during this dormancy phase, allowing the root ball to remain largely dry.
Knowing Exactly When to Water
Relying solely on visual cues from the foliage often leads to belated action. The most reliable method is tactile soil inspection.
- Push your finger a few centimeters down into the dirt.
- If the upper layer feels dry and lacks any cool dampness, it is time for a thorough drench.
- If you still detect distinct moisture below the surface, hold off for a few more days.
If the moisture drops slightly too low, you might notice the leaves drooping briefly. Do not let them progress to curling or turning brown, as that indicates cellular damage. The goal is a carefully managed, temporary thirst, not severe dehydration. Aim for a cycle of slight dryness followed by a heavy downpour, mimicking the climate of its native tropical habitat.
Common Errors That Delay Blooming for Months
Certain well-intentioned gardening practices directly suppress the natural blooming signals. A few recurring pitfalls consistently trap these magnificent climbers in a vegetative state.
Automated Irrigation and Oversized Containers
Daily drip systems or automated sprinklers maintain permanent moisture in the root zone. While fantastic for a lush lawn, constant dampness tells this particular shrub that flowering isn’t necessary.
Additionally, potting the plant in a massively oversized container can backfire. It will instinctively expend all its energy expanding its root network to fill the vast space. Floral production only begins once the roots feel slightly restricted. A snug, appropriately sized pot generally accelerates the blooming timeline.
Poor Pruning Timing and Improper Wintering
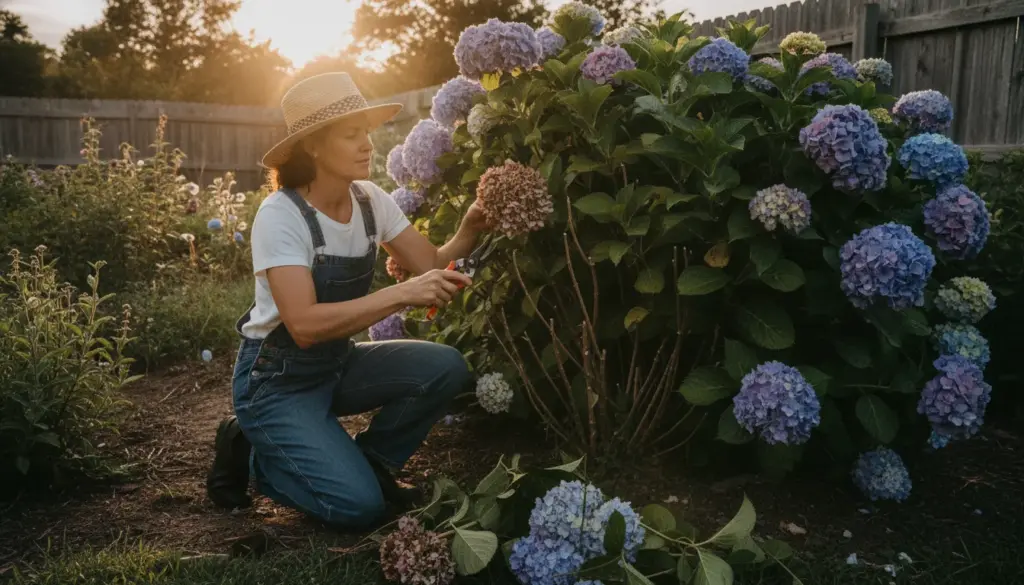
Trimming at the wrong moment is another major setback. Enthusiastically shearing the branches in the middle of spring abruptly removes the exact growth where buds were preparing to emerge.
- Restrict post-bloom trimming to light shaping only.
- Save any severe, structural pruning for late winter, right before the spectacular spring growth spurt initiates.
Storing the specimen in a cozy, heated living room during winter throws its natural rhythm completely out of balance. The combination of household warmth and lower winter light levels creates exhausted, spindly branches. A brisk, brightly lit winter environment significantly increases the odds of an aggressive, healthy restart in the spring.
Advanced Tips for a Spectacular Sea of Color
Once you master the fundamental watering rhythm, minor tweaks can elevate the floral display. Many cultivars respond magnificently to a calculated stress event just prior to their expected blooming window: withhold hydration just a bit longer than usual, followed by a massive, generous soaking. Pairing this technique with intense sunlight and potassium-focused plant food maximizes the likelihood of an explosive color peak.
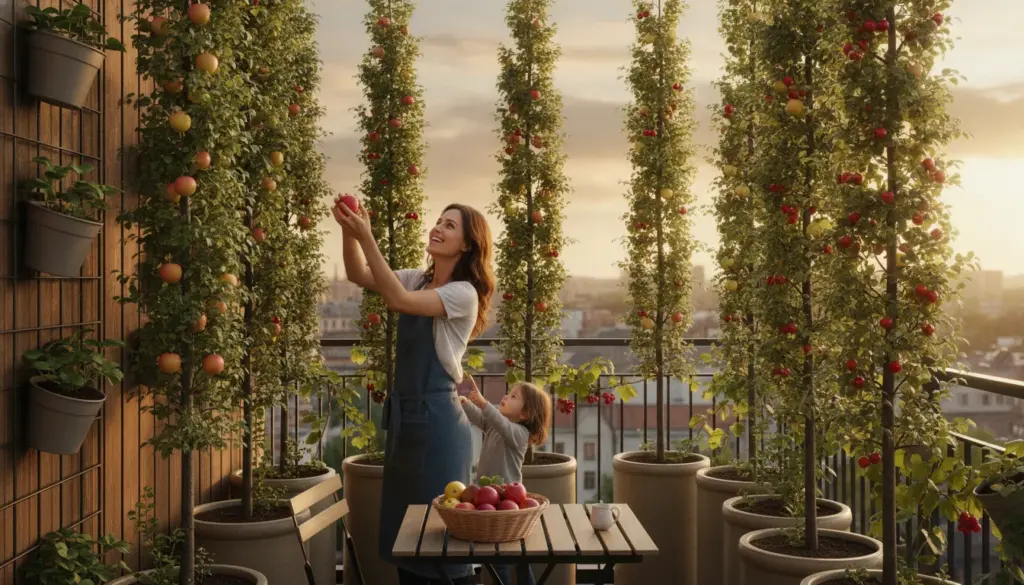
Finally, carefully consider your container arrangements. A frequent mistake is planting these drought-tolerant beauties alongside thirsty companion flowers in a single trough. The neighboring varieties will demand constant watering, completely neutralizing the crucial drought stress your main specimen needs. Providing a dedicated, standalone planter offers total control over the environment, ultimately rewarding your pergola, facade, or balcony with vastly more vibrant color.