Giving your garden a hidden boost
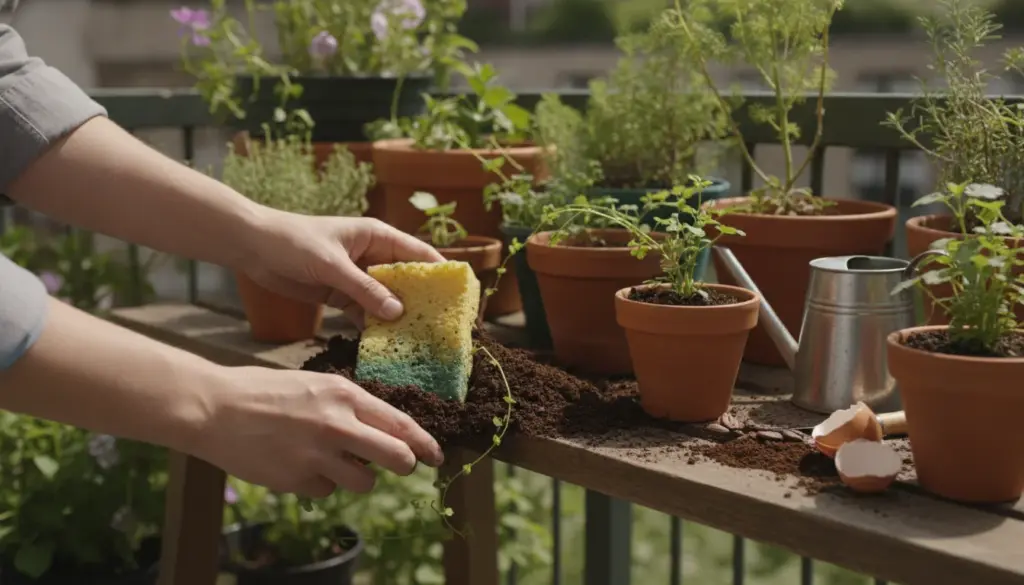
Turn that seemingly useless cleaning item into a lifesaver for your indoor and outdoor greenery. Savvy gardeners frequently repurpose kitchen waste, tossing eggshells into garden beds and working coffee grounds into potting soil. But what about that worn-out scrubbing pad? Once properly cleaned, an old sponge transforms into a remarkably versatile tool for container gardens, balcony planters, and backyard borders.
Sponges do much more than wipe up spilled soapy water. Their porous material excels at retaining moisture while simultaneously promoting airflow, creating an ideal micro-environment beneath the soil surface. This precise combination of hydration and oxygenation is exactly what thriving root systems demand.
By utilizing a properly sanitized sponge, you can establish a reliable hydration reserve, successfully sprout fragile seedlings, insulate roots against sudden chills, and even deter common garden pests. Repurposing these everyday household items means buying fewer disposable gardening accessories while maximizing the efficiency of your watering routine. The secret lies in thorough preparation and knowing exactly where to place them.
First step: Safely disinfecting your used sponge
Bathroom or kitchen sponges harbor loads of bacteria and potential mold spores. You definitely want to keep those harmful microorganisms far away from your delicate plants, especially fragile seedlings. As an experienced horticultural practice, proper sterilization is absolutely non-negotiable.
Step-by-step cleaning process:
- Rinse thoroughly: Run the sponge under extremely hot tap water, squeezing repeatedly until absolutely no soap bubbles remain.
- Boil it down: Submerge the item in a pot of boiling water for several minutes to eradicate the majority of lingering bacteria.
- Deep sterilization: After letting it cool slightly, choose one of these secondary methods: Microwave the damp pad for exactly 60 seconds, or soak it in a bath of white household vinegar for a full 15 minutes.
- Air dry: Set the sponge in a well-ventilated area until all moisture has completely evaporated.
If the material still gives off a funky, musty odor or crumbles to the touch after this deep clean, toss it in the trash. It is simply too degraded to safely introduce to your potting mix.
Creating a hidden moisture reserve in planters
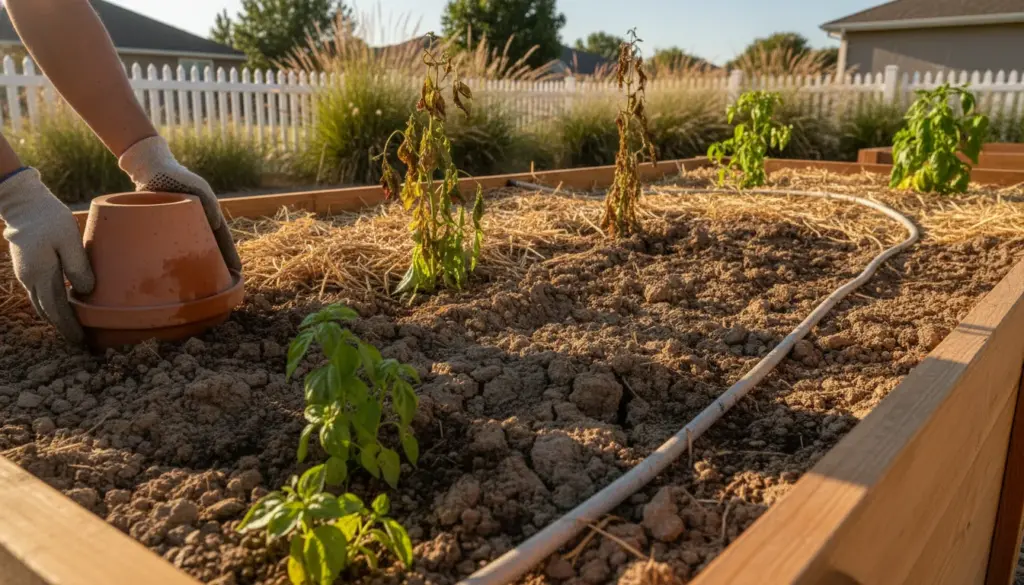
The most obvious horticultural benefit of a synthetic sponge remains its incredible fluid retention capacity. Tucking one into window boxes, hanging baskets, or patio pots can mean the difference between discovering vibrant foliage or sadly drooping stems after a sweltering afternoon.
Lining the bottom of your pot
While many plant enthusiasts layer clay pebbles at the base of containers to boost drainage, a sponge serves a distinctly different purpose. It holds onto a localized reserve of hydration while ensuring delicate roots still receive vital oxygen.
- Cut your sanitized pad into custom shapes to perfectly match the base of your chosen container.
- Position these pieces at the very bottom, ensuring you do not block the essential drainage holes.
- When you water the plant, the material absorbs excess fluid and releases it at a slow, steady pace over time.
This technique provides a brilliant buffer between watering days, proving especially useful on sun-baked balconies and for notoriously thirsty herbs like parsley and basil.
Placing sponges directly in the root zone
You can also position this absorbent helper right next to the active root system. Simply tuck a damp sponge near the base of the stem—ensuring the softer side touches the earth—and gently brush topsoil over it.
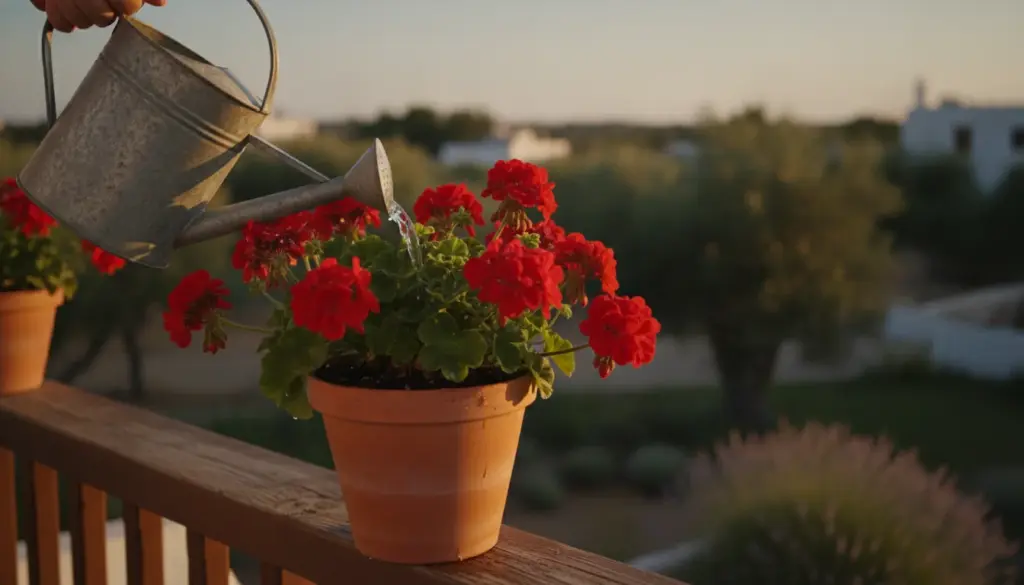
As the upper layer of dirt dries out under the sun, trapped moisture slowly wicks from the pad directly toward the thirsty roots. This trick works wonders if you need to leave town for a weekend getaway. Urban gardeners frequently bury several damp pieces across elongated balcony troughs before heading off on vacation, helping summer bloomers like petunias and geraniums survive intense heatwaves.
Sprouting seeds on upcycled sponge blocks
Here is a lesser-known technique: utilize a chopped-up sponge as a miniature nursery bed for tiny seeds. This method shines when cultivating varieties that demand continuous, even moisture, such as radishes, lettuce, garden cress, or assorted culinary herbs.
Because the synthetic material maintains consistent dampness, the germination process typically accelerates beautifully. Once your tiny seedlings reach a few centimeters tall and develop their first set of true leaves, simply bury the entire sponge block directly into the potting soil. Developing roots will effortlessly push right through the porous structure, which either slowly breaks down over time or remains as a beneficial aerating element underground.
Shielding plants from cold snaps and drought
Most greenery despises sudden temperature crashes, particularly during unpredictable spring weather. A carefully placed sponge acts as an insulating cushion, softening the blow of severe environmental fluctuations.
Creating a mini-mulch barrier
Rest a flat, moistened sponge (soft side facing down) on the soil immediately surrounding the plant’s base, using a small pebble to weigh it down. This simple addition creates a highly effective thermal blanket right above the vulnerable root system.
- It traps heat in the soil much longer after a sunny day.
- It significantly slows down rapid moisture evaporation from the top layer of dirt.
- It absorbs the harsh impact of heavy rain, preventing the soil surface from compacting and turning into a hard crust.
For tender vegetable seedlings, potted herbs, or container-grown Mediterranean varieties, this basic insulating trick offers just enough protection to survive a brisk May night or a remarkably windy, dry spell.
Deploying natural scent barriers
Believe it or not, a sponge makes an excellent fragrance diffuser for warding off unwanted garden visitors. Certain aromas highly irritate specific insects, even though they smell perfectly pleasant to us during a relaxing summer evening outdoors.
Repelling bugs with essential oils
By saturating a small piece of sponge with heavily diluted essential oils, you establish a long-lasting, invisible barrier around your most vulnerable greens. Experienced organic gardeners frequently rely on botanical extracts like peppermint oil, citronella oil, or lavender oil.
Take a clean, slightly damp sponge and add a few drops of your chosen oil (always dilute it thoroughly with water or a carrier oil first). Hang these scented squares from branches or place them directly on the dirt near frequently attacked foliage. The dense, porous material traps and slowly releases the fragrance much longer than a standard rag ever could. Embracing this aromatic tactic helps minimize reliance on harsh chemical sprays while actively dropping the pest pressure around delicate blooms.
Crucial safety tips for garden sponges
Not every scrubber belongs in your backyard. It is best to completely avoid heavy-duty scouring pads covered in aggressive abrasive grit or products infused with artificial antibacterial chemicals. These commercial additives can easily leach undesirable toxins into your vegetable patches or ornamental beds.
Always inspect your buried sponges every few weeks. If they begin developing strange fungal growth, emit a foul odor, or disintegrate rapidly, dig them up and throw them out. When dealing with edible crops and kitchen gardens, strictly stick to thoroughly rinsed, unscented pads to guarantee zero dish soap or harsh cleaning agents contaminate your soil ecosystem.
Further creative uses for retired kitchen scrubbers
Once you start experimenting with this clever upcycling hack, you will undoubtedly discover even more practical applications. Try wedging slender strips of sponge between tender cuttings in propagation trays to lock in vital humidity. For sensitive indoor houseplants, placing a thin pad at the base of decorative cachepots soaks up excess drainage, keeping delicate root balls from drowning in standing water while preventing total dehydration.
This also translates into a fantastic, mess-free educational project for young kids eager to watch nature at work. Grab a clear plastic container, drop in a wet sponge, and sprinkle some lentil or cress seeds on top. Within just a few days, children can watch intricate root systems weave through the bright synthetic material. It transforms plant care into a highly visual, hands-on learning experience, entirely skipping the mess of traditional potting soil.
Adventurous green thumbs can even blend these techniques together: tucking a water-retaining pad at the bottom of a container, utilizing a miniature block for starting seeds, and leaving a peppermint-scented square nearby as a natural bug deterrent. With just a little ingenuity, a destined-for-the-trash scrubbing pad becomes an incredibly versatile asset in a smart, eco-conscious gardening routine.