Why Home-Roasted Potatoes Often Miss the Mark
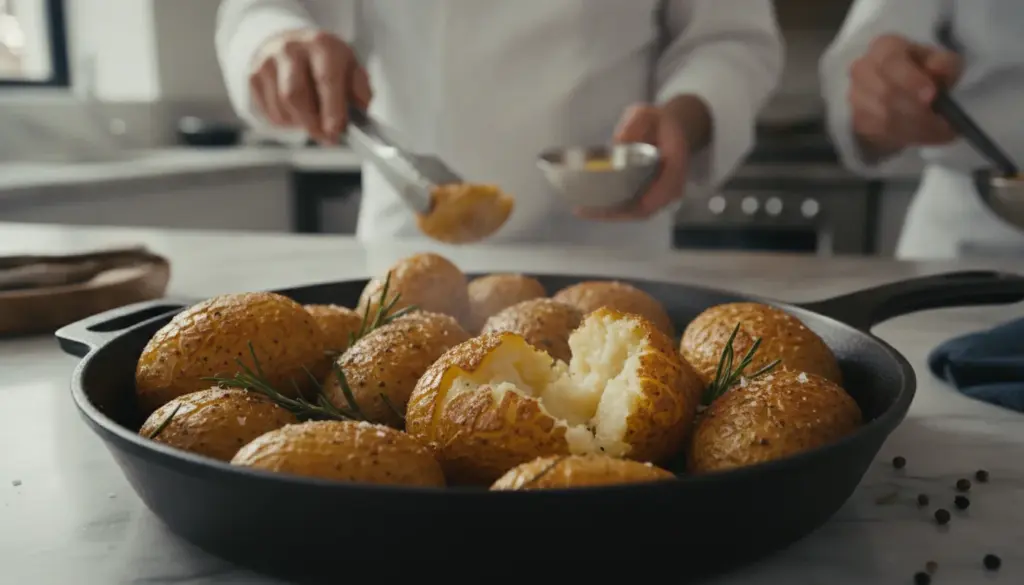
The contrast is often painfully obvious when dining out. In high-end kitchens, culinary professionals rely on a surprisingly straightforward technique to achieve flawless roasted potatoes. It turns out that a single preparatory step before the oven is the absolute key to unlocking that elusive shattered-glass crunch and velvety interior.
Roasting potatoes at home seems effortless: chop them up, toss in oil and seasoning, then bake. However, reality often yields limp, pale, or completely parched wedges. This happens because the spud is forced to cook through and brown simultaneously in the dry heat. The exterior simply doesn’t have enough time to crisp up before the center dries out. Restaurant professionals solve this dilemma by starting the cooking process on the stovetop.
Step 1: Boiling Before Roasting – The Essential Foundation
Culinary experts almost always begin their potato prep at the stove. This isn’t an arbitrary rule; it’s a structural necessity that radically transforms the final texture.
The Parboiling Method
The process requires just a little extra patience. Start with small or medium-sized potatoes chopped into uniform chunks. Opt for robust varieties that handle oven heat well, such as Charlotte, Amandine, Bintje, Manon, or Ratte.
- Cut the potatoes into equal-sized pieces to guarantee even cooking.
- Bring a pot of generously salted water to a rolling boil.
- Cook the chunks until they are just tender enough to be pierced with a fork, yet still hold their shape.
- Remove them from the heat immediately and plunge them into an ice-water bath.
- Dry the pieces meticulously using a clean kitchen towel or paper towels.
This gentle precooking guarantees a soft, creamy core that won’t disintegrate later. Shocking them in cold water abruptly halts the cooking process, ensuring your wedges don’t turn into a mashed mess on the baking sheet.
A Pinch of Baking Soda for Maximum Crunch
Many seasoned chefs swear by adding a teaspoon of baking soda (bicarbonate) to the boiling water. This simple chemical addition slightly alters the exterior structure of the spuds.
The skin and edges become remarkably softer and more textured on the surface. While that might sound counterproductive, this extra starchy roughness is exactly what creates an ultra-crispy crust later on. You are essentially building a jagged paste on the outside where hot oil can work its magic, forming a natural, built-in breading layer without ever using breadcrumbs.
The Smash Technique: More Surface Area, Thicker Crust
Another brilliant tactic borrowed from restaurant lines involves lightly flattening the potatoes after their water bath. You aren’t mashing them completely, but rather pressing them just enough to distort their shape.
Place the parboiled, thoroughly dried chunks on a baking tray and gently press down using the bottom of a heavy glass or a sturdy spatula. This yields “smashed potatoes,” characterized by countless little fissures and jagged edges. Once exposed to intense oven heat, those tiny cracks transform into incredibly sharp, crunchy bites.
The Oven Phase: High Heat, Space, and Fat
Once your potatoes are perfectly tender and completely dry, it’s time to move to the oven. Success here relies entirely on precise temperature control, the right amount of fat, and generous spacing on your tray.
Dialing in the Perfect Temperature
Professional kitchens typically blast their potatoes at temperatures between 350°F and 450°F (180°C and 230°C). For standard home cooking, keep these guidelines in mind:
- Set your convection oven to roughly 400°F (200°C).
- Roast for 30 to 45 minutes, depending on the thickness of your cuts.
- Flip the potatoes halfway through the cooking time to ensure an even, golden browning.
Before they hit the heat, gently toss your dried potatoes in neutral oil or olive oil, along with salt, pepper, and your favorite hearty herbs. The objective is to coat every single piece in a thin, uniform layer of fat.
Give Your Potatoes Room to Breathe
A notoriously common home kitchen mistake is overcrowding the baking sheet until no metal is visible. Instead of creating a dry roasting environment, this overcrowding creates a miniature steam bath.
When the pan is too packed, the potatoes end up steaming in their own escaping moisture. To achieve a genuine, shattering crust, you absolutely need dry, circulating hot air. Space the pieces out so they aren’t touching. If you want to go the extra mile, pour a shallow layer of fat—about a quarter-inch deep—directly onto the pan. The potatoes will sit in the oil rather than drowning in it, producing a deeply browned base without feeling deep-fried.
Secret Upgrades Straight from the Pros
Once you have the fundamental technique down, you can start playing with the fun details. Professional cooks constantly experiment with salts, fats, and cheeses to maximize the contrast between the crispy shell and the fluffy interior.
A Lightning-Fast Brine for Crispy Skins
A quick dunk in heavily salted water can amplify the crunch factor even further. After the initial drying phase, dip the potato chunks into a strong brine for about 10 seconds. Let them drain, pat them completely dry once more, and then apply your oil. This concentrated salt layer enhances the overall flavor profile while encouraging the edges to dry out and crisp up rapidly in the heat.
A Spectacular Crispy Cheese Bottom
Want to truly impress? Try spreading a savory mixture directly on the bottom of your roasting pan. Excellent choices include:
- Finely grated Parmesan cheese
- Freshly minced garlic cloves
- Chopped woody herbs like rosemary, thyme, or oregano
Scatter this aromatic blend in a thin layer across your oiled baking sheet, then place the parboiled potatoes right on top. As they bake, the cheese melts, bubbles, and caramelizes into a stunningly savory, frico-style base.
Animal Fats for Deep Flavor
Many esteemed chefs like to blend standard olive oil with a generous spoonful of duck or goose fat. This delivers an incredibly rich, savory undertone that pairs beautifully with roasted meats or festive holiday spreads. When applied to smashed potatoes, these rich fats create an almost snack-like, addictive crunch.
Selecting the Ideal Potato Variety
Not all potatoes behave identically when exposed to high heat. Culinary experts generally prefer varieties that offer a firm texture without being excessively hard.
If your ultimate goal is a resilient crust shielding a creamy center, a slightly floury or all-purpose potato usually yields the best results. However, if you prefer neat, structural cubes that refuse to fall apart, lean toward waxy varieties like Charlotte.
Customizing Your Roast for Any Meal
Roasted potatoes are the ultimate chameleon, perfectly complementing everything from a quick weeknight chicken dinner to a lavish holiday feast. Here are a few ways to adapt the master recipe for different occasions:
- Speedy weeknight dinners: Toss the potatoes with chunky slices of onion, carrots, and bell peppers, roasting everything together on a single sheet pan.
- Seafood pairings: Stick to high-quality olive oil, a sprinkle of lemon zest, fresh dill, and parsley, skipping the heavier cheese crust.
- Appetizer hour: Prepare bite-sized smashed potatoes and serve them alongside garlic aioli, truffle mayonnaise, or chive-infused sour cream.
- Vegetarian mains: Pair the roasted spuds with deeply charred vegetables, finishing the dish with a generous dollop of creamy hummus or crumbled feta cheese.
Always monitor your fat ratios with these variations. You want just enough oil to encourage browning, but never so much that your side dish feels heavy or sodden.
Final Pro Tips for Potato Perfection
Anyone who regularly roasts potatoes knows that minor tweaks can drastically elevate the final dish. Keep these expert nuances in your culinary arsenal:
- Preheat your baking sheet inside the oven; dropping cold potatoes onto scorching hot metal creates an immediate sear that accelerates crust formation.
- Use coarse sea salt rather than fine table salt to provide satisfying, textured bursts of flavor upon every bite.
- Wait until the very end to toss in fresh, leafy herbs so they don’t turn bitter and burn in the harsh heat.
- Let the finished tray rest for a minute or two before scraping the potatoes off the pan; this brief cooling period helps the delicate crust “set” and prevents tearing.
Mastering the sacred combination of parboiling, thorough drying, adequate pan spacing, and high-heat roasting allows anyone to replicate restaurant-quality potatoes at home. From there, it’s all about exploring different fats, seasonings, and textures to craft your ultimate signature side dish.